
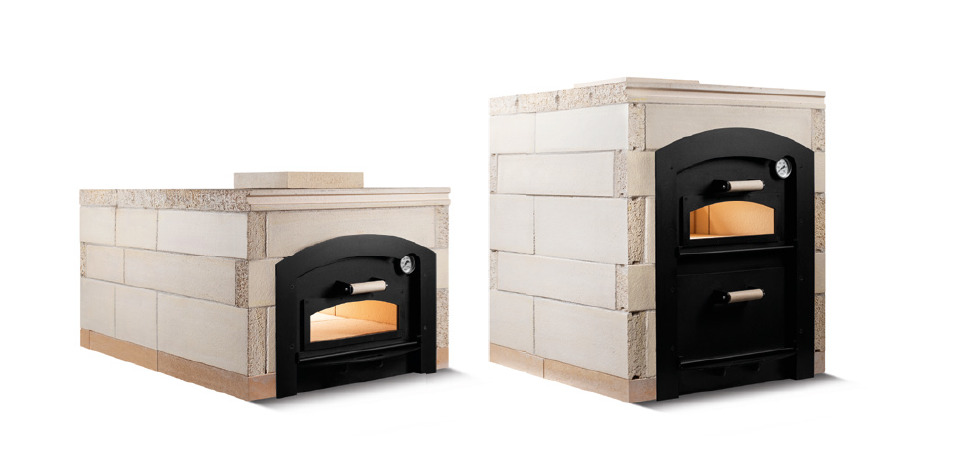
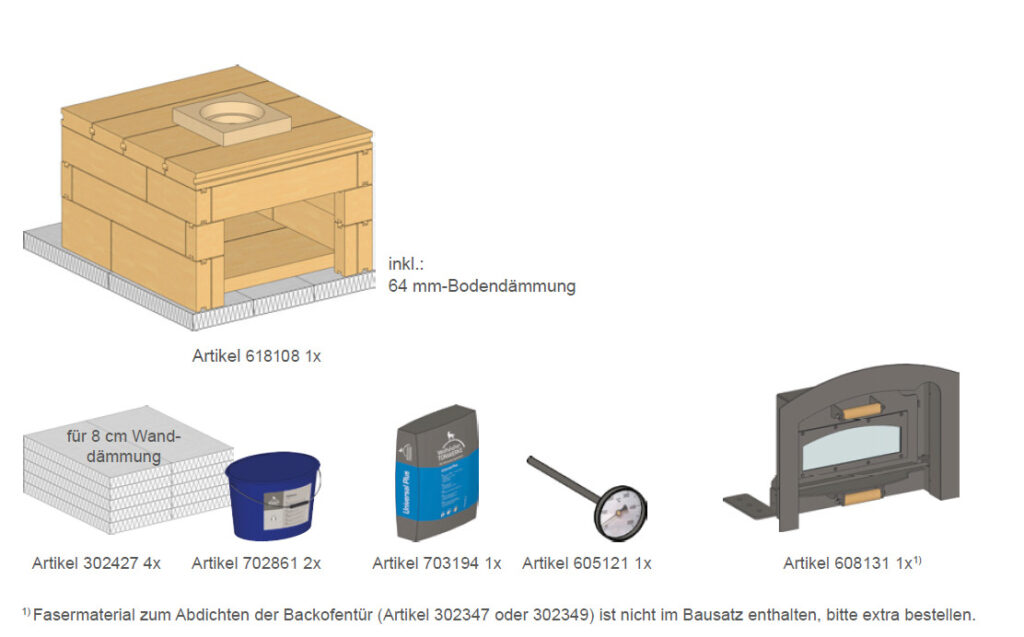

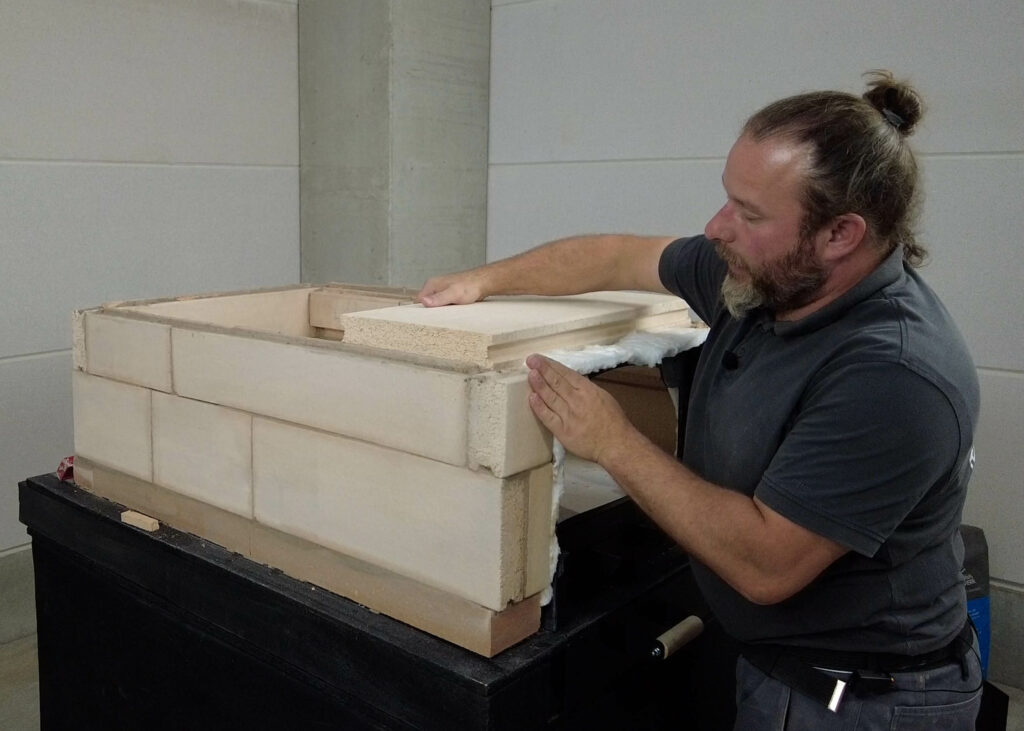
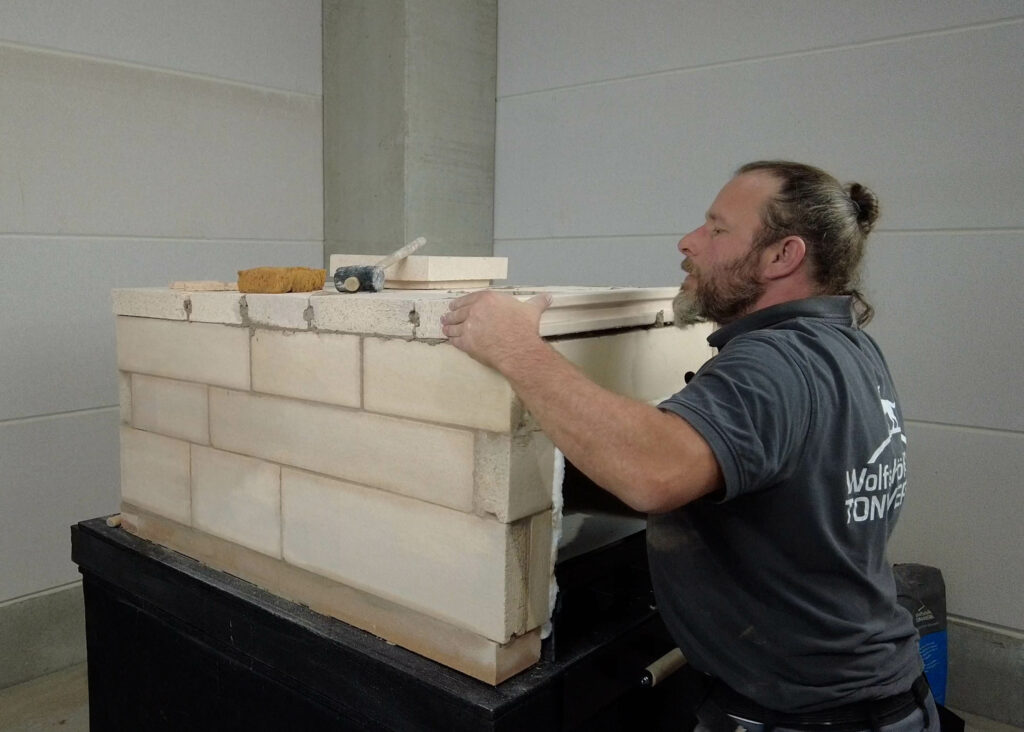
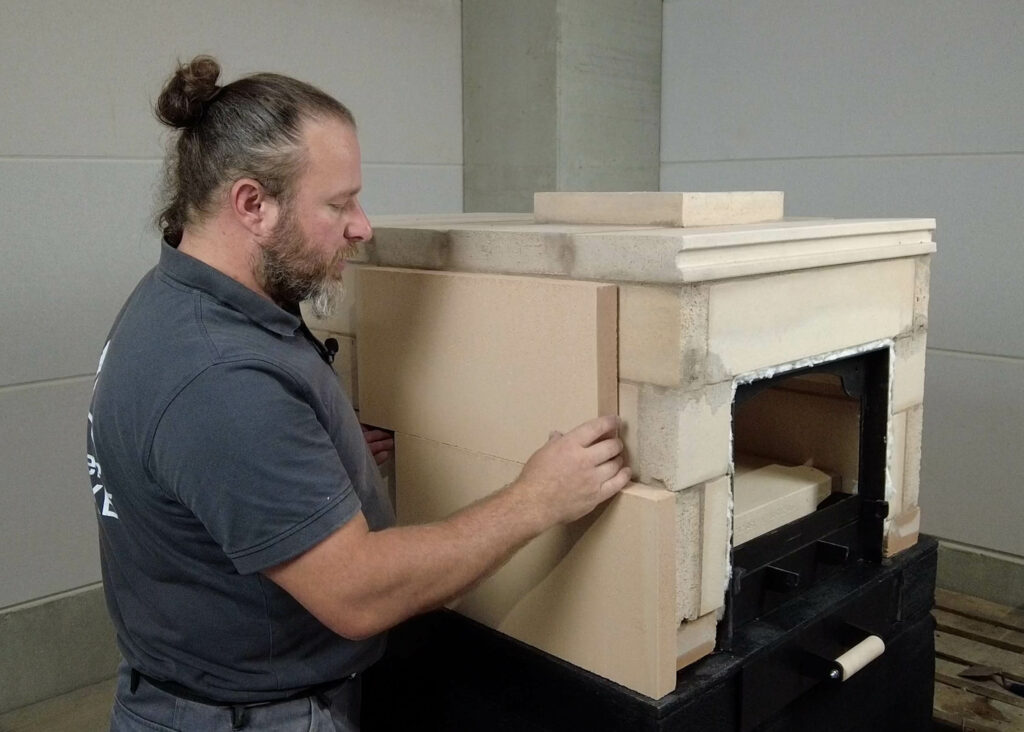

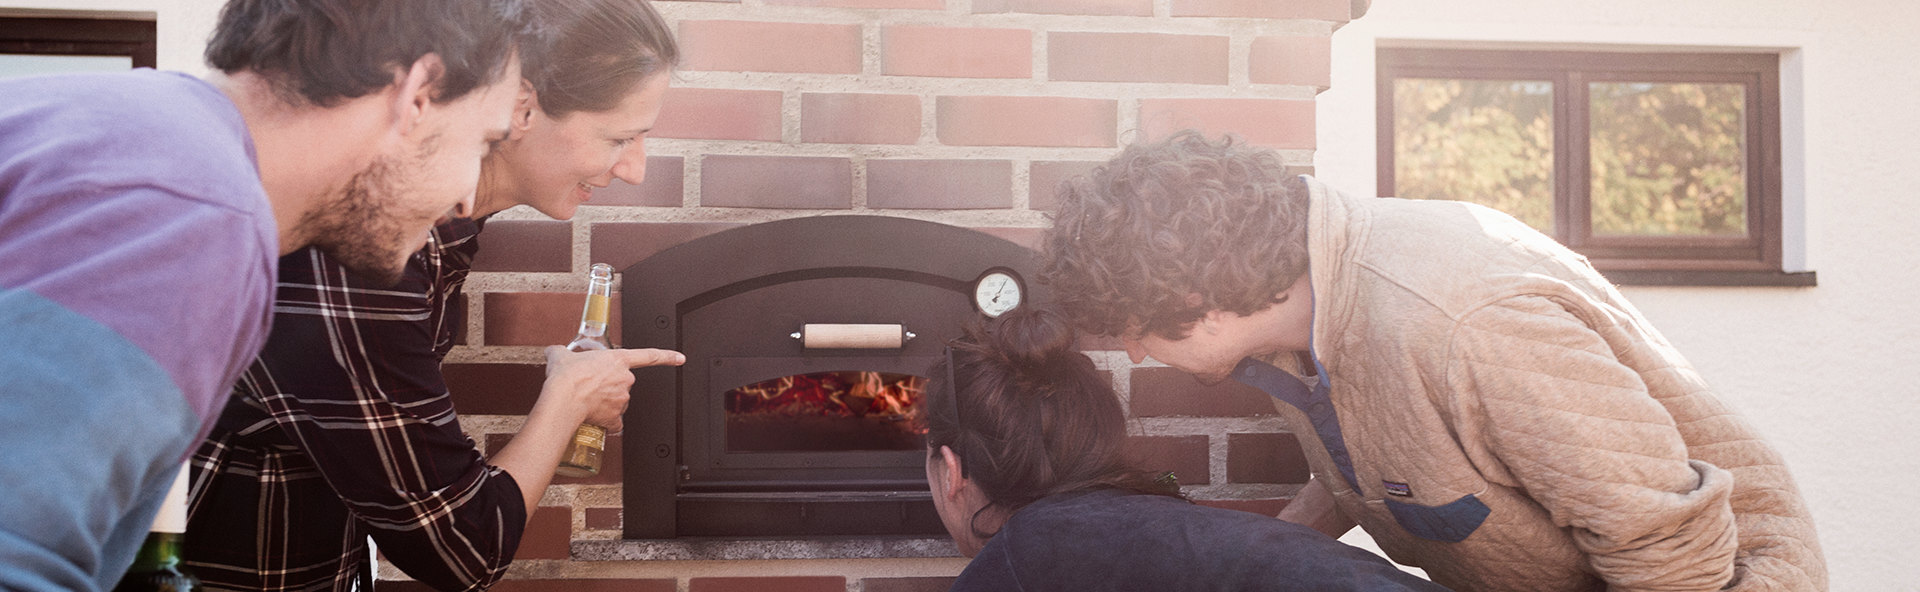
Wood-burning baking stove made of fireclay – the components
Which components are required when building a stove and what special technical features need to be considered? We will give you an overview below – from the foundation to the rain cover.
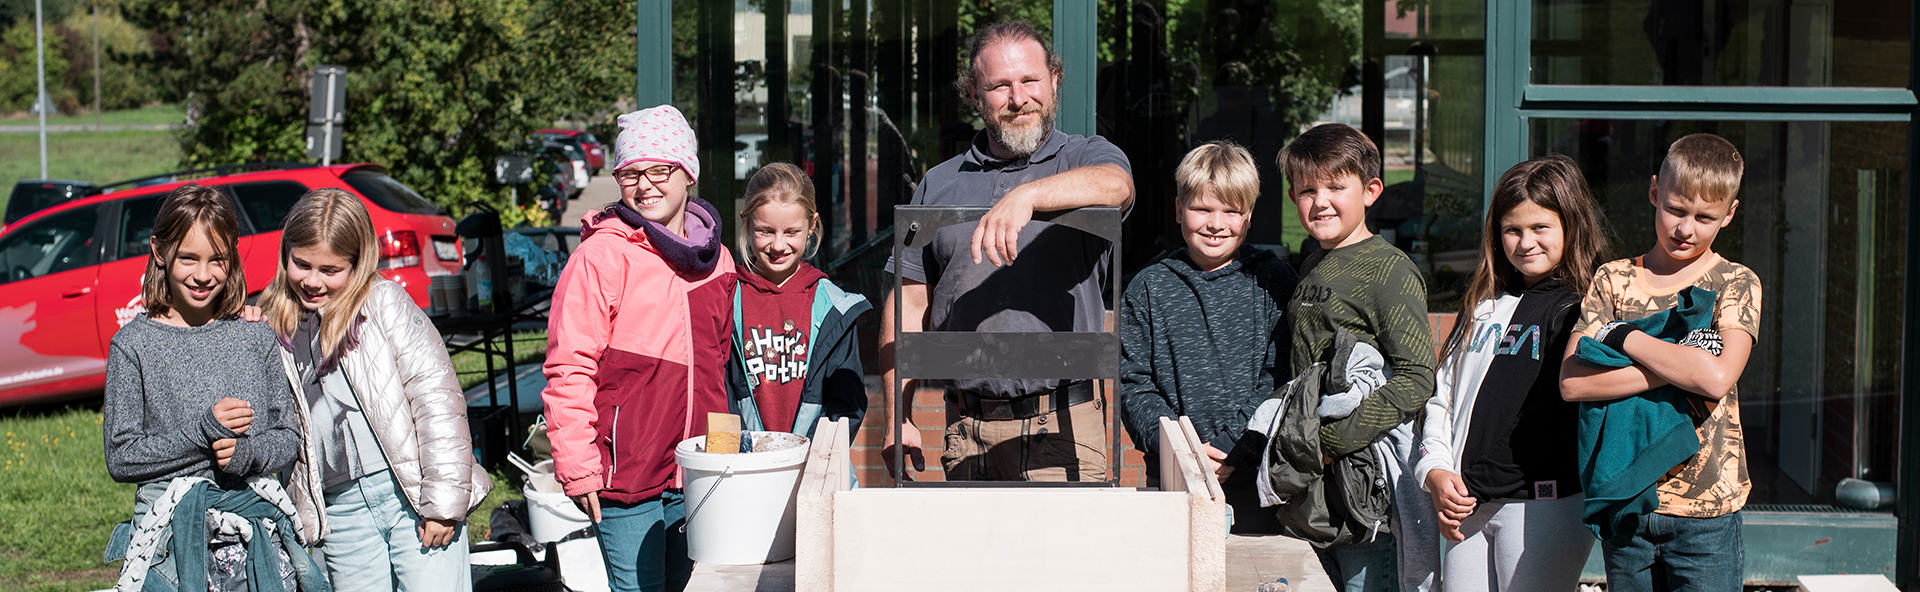
A baking stove for the elementary school in Neunkirchen am Sand
The elementary school in our home town had long wanted a baking stove.
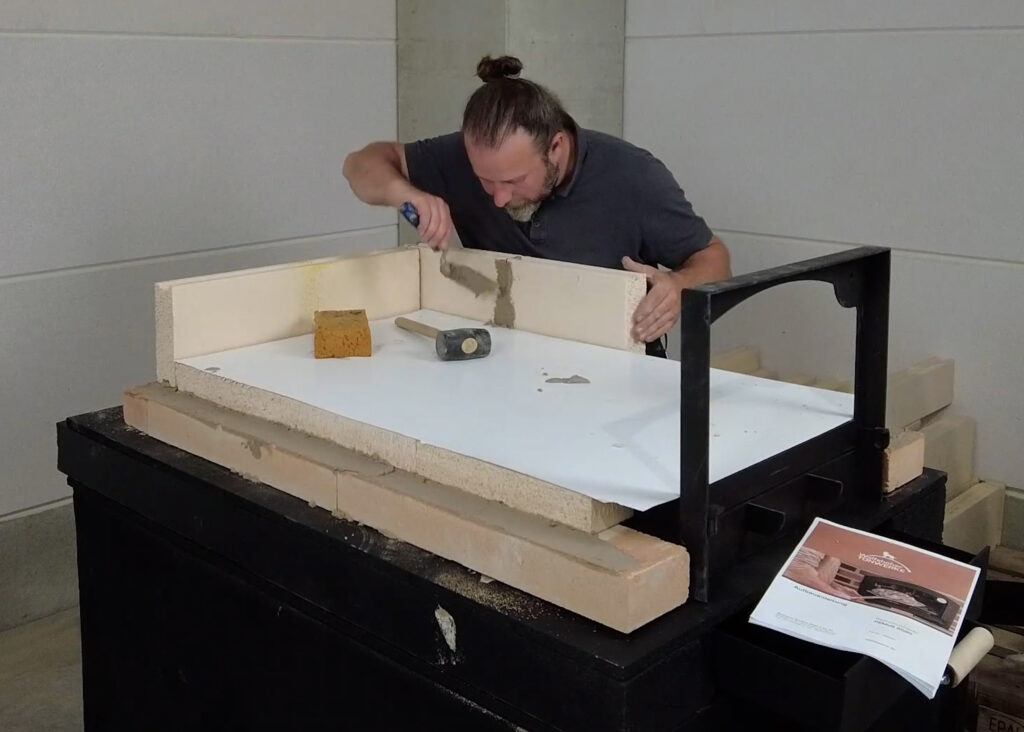
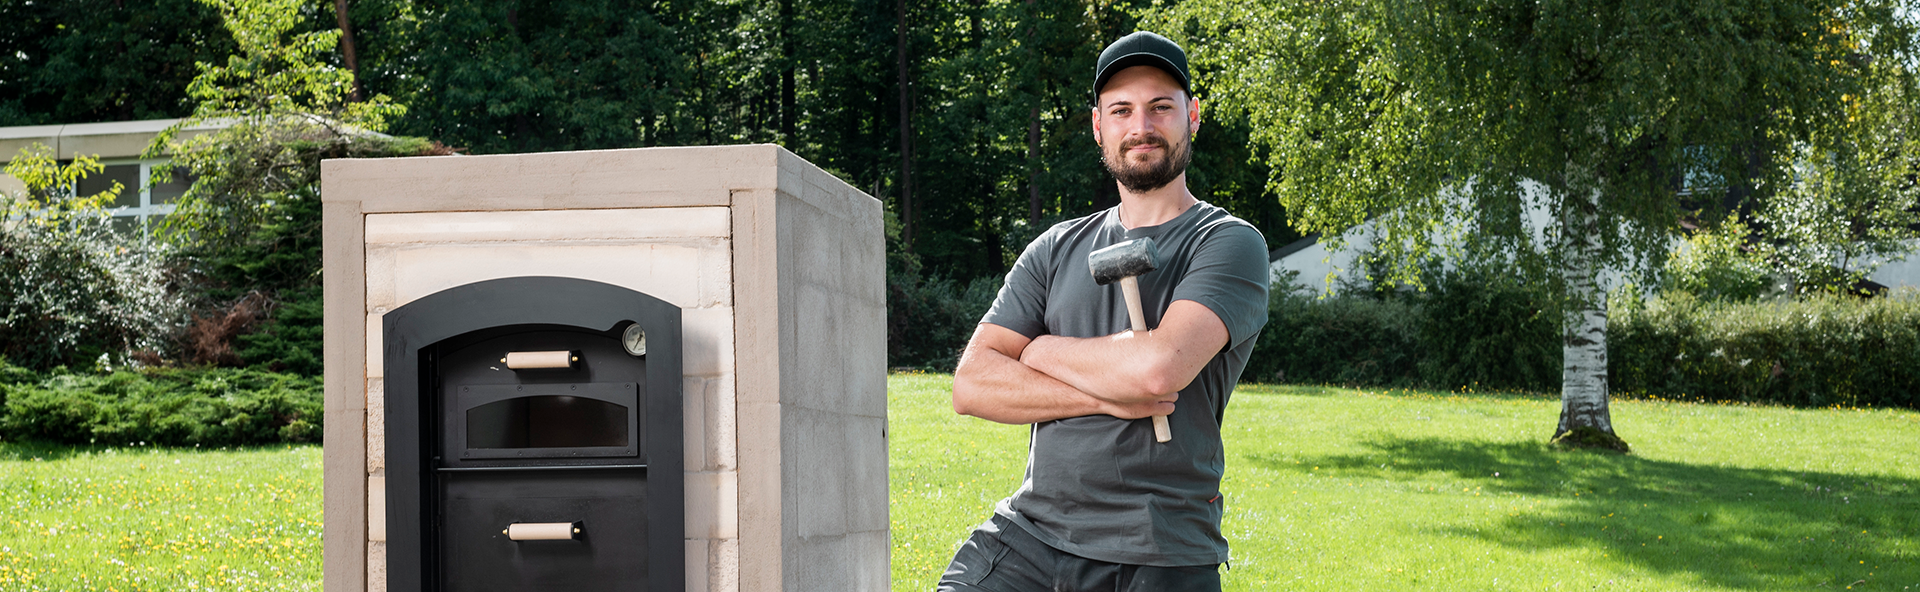
Wood-burning baking stoves made of fireclay – planning & construction
For you as a stove fitter, baking stoves made of fireclay are an additional area of business. In the following, we show you what to consider regarding the planning and implementing.